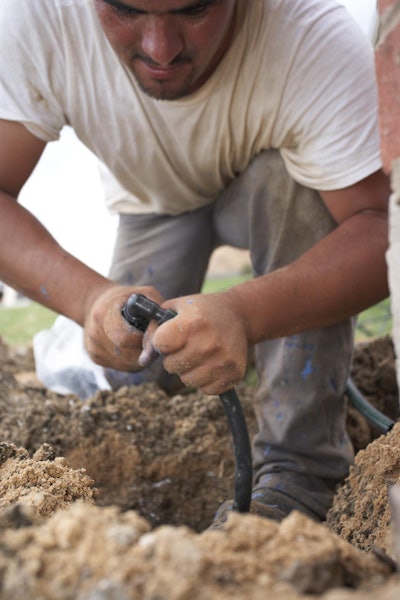
According to the company, irrigation professionals need to check drip irrigation systems typically twice a year.
A step-by-step process will uncover potential problems and damaged components.
The six steps include:
1. Check the pressure
Most drip systems operate at their best between a pressure range of 20 to 50 psi.
2. Check the controller
Turn on the controller to perform a manual run to operate each valve. Make sure all valves are opening and closing properly.
3. Clean the filter and flush the system
Make sure the proper filter size and filter types are installed to protect the systems.
RELATED: 10 Tips for Summer Irrigation
4. Inspect the tubing and repair leaks.
Cut the entire damaged section of tubing about an additional inch on either side to repair tubing.
5. Cover drip irrigation tubing with mulch
Cover bare spots where tubing is exposed with mulch. Mulch helps conserve water by helping preventing evaporation and reducing weed growth.
6. Use quality, reputable products
Use commercial grade plastic products that can withstand poor water quality, UV exposure and varying climate changes.
