With one of the busiest seasons still in full swing, many projects on your roster may require sod installation, and having proper sod cutting tips on your mind could be extremely handy.
“That crucial step might seem daunting, but if you prepare and have the right equipment, you can come out with successful results each time,” says Ron Schefler, senior product manager for Ryan.
Take a look at Schefler’s top tips to consider when cutting sod is a part of your turf renovation projects.
Have a plan
While he says it might sound obvious, Schefler points out that sod cutters work most efficiently when the landscaper knows where he/she is cutting the sod, how much sod needs to be cut and where it’s going to be placed.
There are many different types of sod cutters, but they all essentially perform the same task of cutting grass at the roots to ensure you’re able to remove entire sections of sod and expose the ground beneath. The type of sod cutter you use, however, depends on what type of project you are undertaking.
Schefler says sod cutters come in different widths, the most common being 18” and 24”, which gives you a variety of options to choose from since not every property you maintain will need the same size.
“The 24” models are more productive in cutting more sod, but if you’re cutting sod for an irrigation line or dog fencing, it might be best to use a narrower width,” says Schefler. “In any case, make sure to measure out and mark where you’re going to cut so you have a plan to follow.”
Know your equipment
If you’ve used your sod cutter more times than you can count, it might be safe to say you know that machine very well, but if you happen to have a rented one or a newer one, Schefler urges users to familiarize themselves with it before hitting the jobsite.
Schefler says taking time to consult the operator manual helps ensure you’re using all the tools to your advantage.
Adjust to your soil
We all know that not all soil is created equal, which means depending on the moisture level and grass type in the area, you may have to change up your approach once you reach the project site.
“After you begin cutting, stop after a few feet into the cut to make sure that you’re comfortable with the depth of the cut,” says Schefler. “The more moisture, the easier it will be to begin cutting.”
To help things go more smoothly, you could water the area a few days before you plan to start the project. When soil is either too wet or too dry, the sod cutter will be met with a lot of resistance, which can cause crumbling or clumping soil to fall from the roots.
Don’t overdo it
When planning out your project, Schefler says to make sure you don’t bite off more than you chew.
He recommends creating a plan and sticking as close to it as possible before you get started, and he adds that it’s important to make sure the sod is cut into manageable pieces. Not only will this help you when rolling and transporting the sod, but he says it will also help you stay focused on the cut you’re working on.
He also stresses the importance of being mindful of your own energy level, as sod cutting can be a strenuous task.
Keep track of where you cut
After each pass, Schefler says to carefully roll up your sod to ensure you are staying organized and efficient, as this will help you know where you’ve already cut and where to go next.
“As with many things, once you get started and get in a rhythm, you’ll find that what you thought was a daunting task is actually very manageable,” says Schefler. “You can make things run even more smoothly if you have the right tools and the right plan to get the job done.”
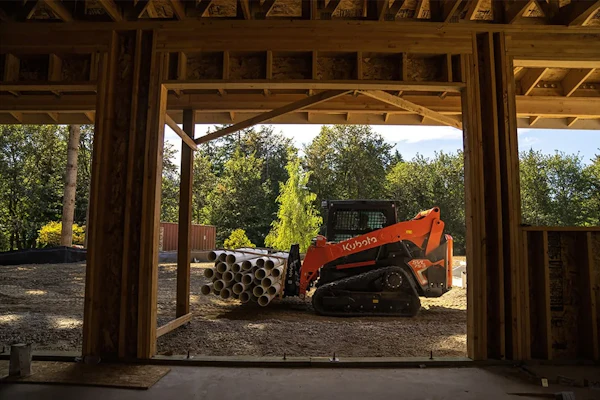
Landscapers use a variety of attachments for doing everything from snow removal to jobsite cleanup, and regardless of how often they are used, every landscaper has a favorite attachment.


 Photo: Ryan