 Photo: Pixabay
While the official start of spring is less than a month off, you want to make sure that your clients’ soil is prepped and ready to go when it is finally time to start planting.
Kim Kemper, vice president of marketing with Jobe’s, says that typically six weeks prior to when you want to start planting things for customers is a good rule of thumb as to when to start preparing the soil. Obviously, this will vary based on your location and if the soil is still frozen.
Clean up debris
A simple but still necessary step in prepping for spring is working to tidy up the lawn and plant beds of any winter debris, such as leaves or broken branches. It is important to remove plant debris that might harbor plant pathogens.
Any weeds that are already appearing should be pulled up, that way you can give your clients’ beds a clean slate for the upcoming spring.
“You need to get a good pre-emergent down, particularly for your lawn,” Kemper says.
Soil tests
The first step you need to take when determining what your client’s soil needs is to conduct a soil test. After you have the analysis back, you can develop a plan as to what products you need to apply, if any.
“If that yard or that bed is actively being treated, you really want to do it (soil test) every year,” Kemper says. “If it’s generally healthy and it’s been normal fertilizers, most of the time the rule of thumb that extension agencies and everybody else will put out is about once every three years. If all of a sudden you start having problems, something starts dying or you get some type of a mold or a fungus, then you’d want to repeat that step again and see if you can figure out what’s going on in the ground.”
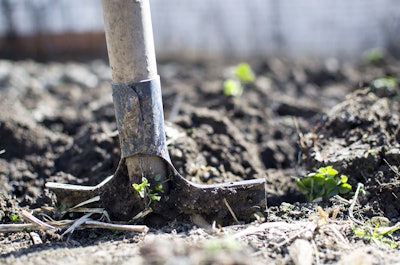
Turn the soil
Compaction is a common issue that landscapers can face when readying properties, so it is important to turn the soil in order to aerate it.
Compaction occurs more often with clay or loam soils, but even sandy soils can become compacted over time. Introducing manure or compost in the top 6 to 8 inches of the soil can help add structure.
Kemper says that for established flower beds, tilling the soil two to three inches deep will work, while brand new beds should be turned 12 to 14 inches deep.
It is important not to try to work with the soil while it’s wet.
“The reason why that’s not really great is the soil’s going to naturally clump anyway because of the wetness,” Kemper says. “You can turn it, but I think you’re wasting your time because you’re going to wind up with a bunch of clumps, and that was not your goal. Your goal was to turn the soil evenly, get it all broken apart and nice and malleable so that when it’s time to put those plants in the soil it’s had time to aerate and nutrients have distributed. If you put fertilizer in, it is evenly distributed and the plant has the best shot of getting off to a great start. If you do it wet, you’re going to have clumps and in some instances compact the soil more than breaking it apart, which is the idea of turning and working it and getting it ready for planting.”
After turning the soil, rake the soil to leave a smooth surface and break up clods. If it is left turned for several days, it may dry out and form hard clods.
Soil amendments and fertilizers
After getting the results back from your soil test, you can focus on what nutrients and other materials need to be added.
“If they’ve done a soil test and they see that, for example, maybe the soil is too acidic and they need to pull some of that acidity down, or maybe they’re planting blueberries,” Kemper says. “Blueberries love very acidic soils and they need to add acidity to it. Maybe they have clay and that clay gets really heavy and clumpy and they need to add some other type of amendment to help loosen it up a little bit. It really depends on their soil type and what they’re going to plant.”
When working with beds that aren’t in the need of anything specifically, plants will benefit from the application of an all-purpose fertilizer. Synthetic fertilizers will have a higher NPK count than an organic fertilizer, according to Kemper.
“If you know you’re planting a bunch of flowering plants, you might use a fertilizer that is specific to that,” Kemper says. “If you’re planting a lot of flowering bulbs, you might want to hit it with a little bone meal as well because those bulbs need a lot of phosphorus.”
Landscape fabric
Despite the controversial nature of landscape fabrics, Kemper says they help retard weed growth and keep the soil in the planting beds.
“I think one of the biggest things that we have seen that landscapers can overlook is proper preparation of the soil and then considering the use of a landscape fabric prior to planting,” Kemper says.
She explains that often landscapers use the wrong fabric for the job or are covering the fabric with soil instead of a light layer of mulch.
“If you put ton of mulch back on top, most weeds are propagated by the wind and birds,” Kemper says. “If your mulch is too deep, then you’ve created a new ‘bed’ for that seed to germinate and grow. Also, no landscape fabric is going to 100 percent of the time to keep 100 percent of the weeds out.”
She says improper preparation of the soil and incorrect installation the fabric tend to be the reasons why landscapers say the product doesn’t work.


